The defrost timer in a frost-free refrigerator starts and stops the defrost heater cycle so frost does not build up on the evaporator. When it fails, the freezer ices up or the whole refrigerator warms up. Replacing it is a small job on many models, but only if you match the new timer to the old one. This guide covers the general steps; the exact position of the timer and the way it is held differ between brands, so check your model's manual too.
Safety first. Unplug the refrigerator before you start, not just switch it off. If you are not comfortable working with mains wiring, ask a qualified technician.
Confirm the Timer Is the Problem
A bad timer is a common cause of a frosted-up evaporator or a fridge that stays warm, but a failed defrost heater or defrost thermostat can look the same. Our guide on why a fridge stops cooling explains how to tell them apart. A technician can test the timer, the heater and the thermostat before you buy a part.
What You Need
- The replacement timer, matched to the old one (see below)
- Screwdrivers, and a small flat screwdriver for the terminals if needed
- A phone to photograph the wiring before you disconnect anything
- Towels for any melted frost, and a way to keep food cold while the refrigerator is off
Step 1: Find the Timer
The position depends on the model. On many refrigerators the timer is behind a panel at the bottom front near the compressor, at the back of the cabinet, or inside the control box at the top of the fresh food compartment. If you cannot find it, the manual or the model number on the label will help. Note the model number and the code printed on the old timer.
Step 2: Photograph, Then Disconnect
Take a clear photo of the wires and their terminals before you remove anything. Defrost timers usually have four terminals, and the wires must go back to the same ones. Pull each connector straight off its terminal. Do not pull on the wire itself.
Step 3: Remove the Old Timer
Unclip or unscrew the timer from its housing and take it out. Keep any screws, clips or covers, because the new timer is fitted the same way.
Step 4: Match the New Timer
Timers that look alike are not always interchangeable. Compare these points with the old timer:
- Code: the model or part code printed on the case.
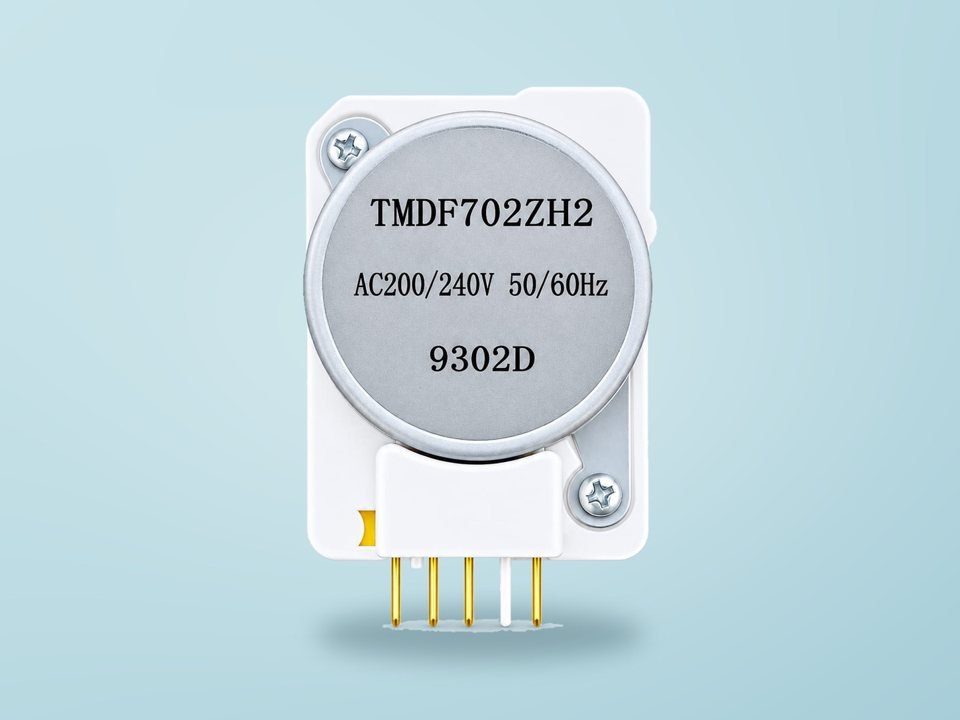
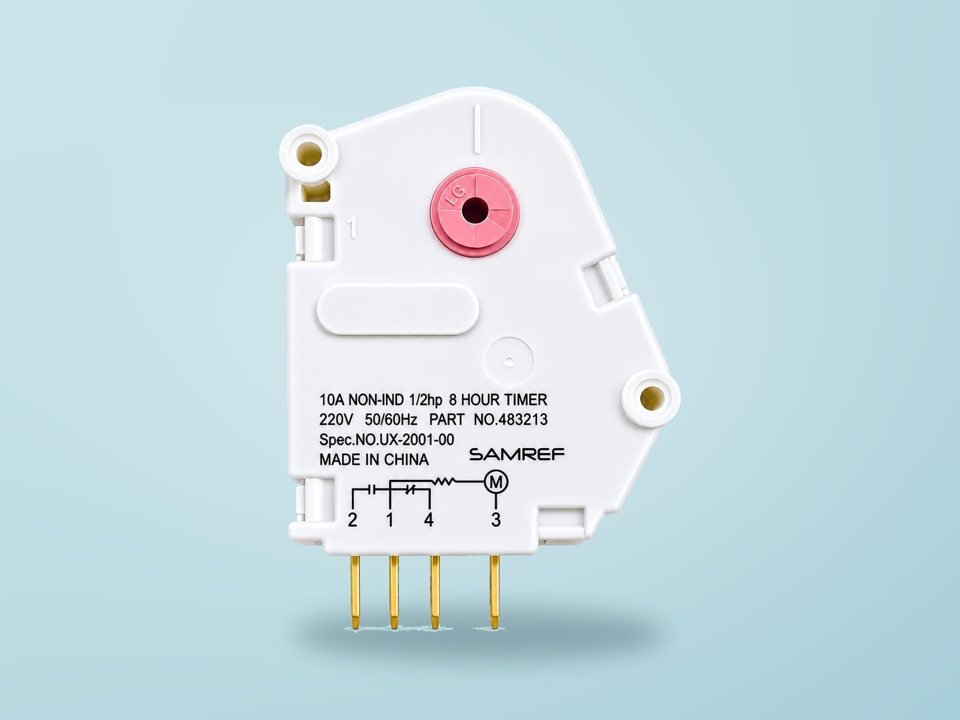
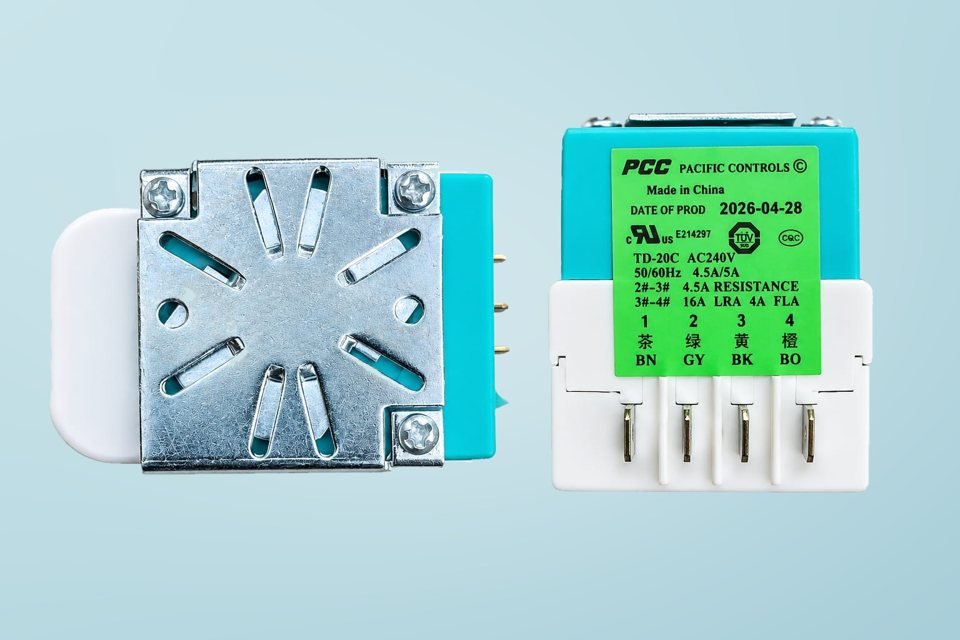
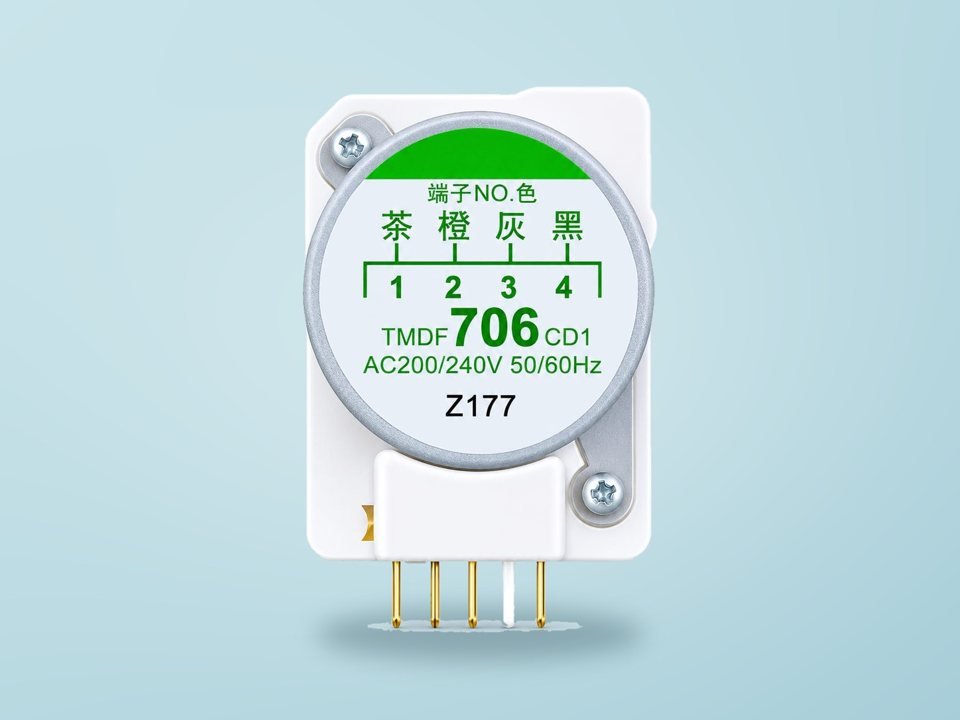
- Terminals: the number of pins and how they are arranged and numbered.
- Voltage and current rating: printed on the timer.
- Cycle times: how long it cools and how long it defrosts. For example, our SAMREF 483213 is an 8-hour timer.
- Mounting: the shape of the case and how it fixes in place.
Browse the refrigerator defrost timers we list, such as the TMDF706CD1 and the TMDF702ZH2, or send us a photo of your old timer's label and we will help you match it.
Step 5: Fit and Reconnect
Fit the new timer in the same position, then push each connector onto its terminal following your photo. Check that every connector is fully seated and that no wire is trapped or touching a metal edge. Refit the cover or panel.
Step 6: Test
Plug the refrigerator back in and check that the compressor starts. Over the next day, check that the freezer cools and that frost does not return too quickly. If frost builds up again or the refrigerator still does not cool, the defrost heater, the defrost thermostat or another part may also be at fault, so have it checked by a technician.